| 11 |
Inputting Information |
 |
|
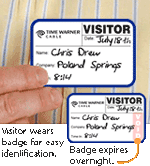
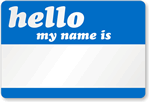
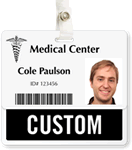
| At this point, you will be asked to input the information that you want to appear on your badge. Fill in the fields that appear on your screen with the appropriate information. You will also be asked to provide a photo for your badge. You can upload a photo from your computer and use the "Edit Photo" option to crop it and touch it up. Once you’re done adding your photo and your personal information,
click "Preview" to see a preview of what your badge will look like. Then, click "Save & Create More" if you want to make more badges from the same template, or click "Finish Without Saving" or "Save and Finish" to place your order. It’s always a good idea to save, in case you want to use the same template to make badges in the future.
|
|
|
 |


